Wednesday, September 8, 2010

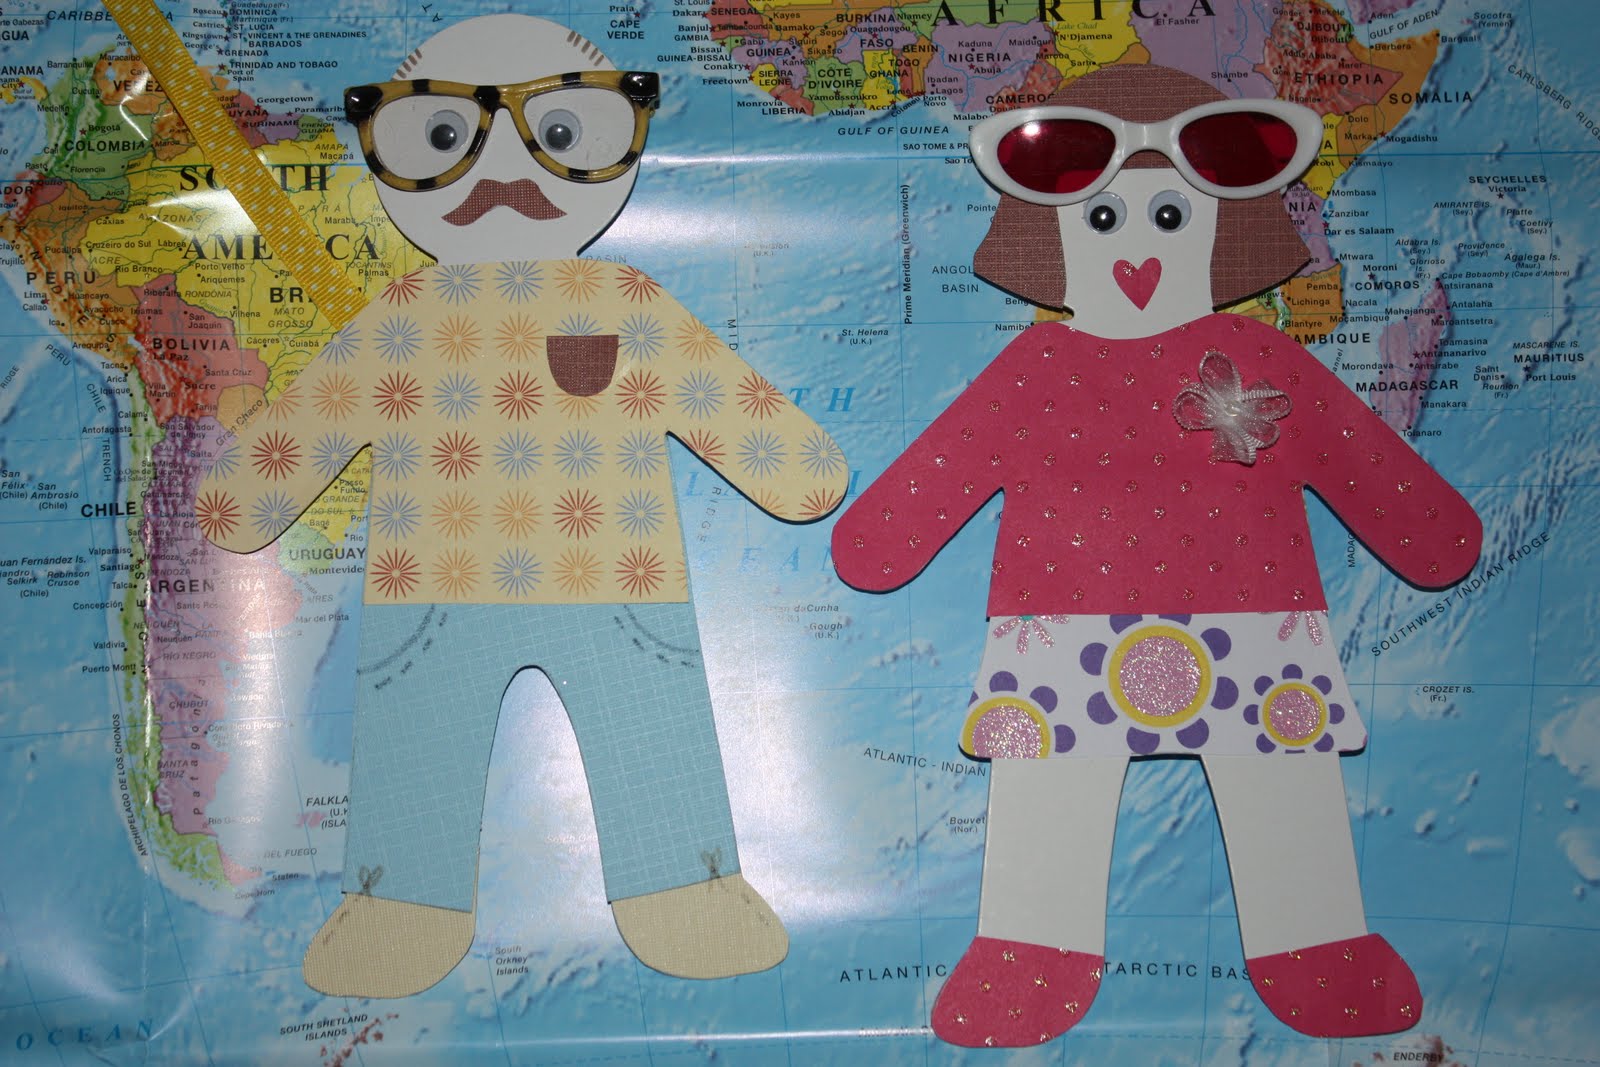
Grandparents Day - WHERE IN THE WORLD ARE GRANDMA & GRANDPA???

Where do your grandparents live?

This activity can be done in a couple of different ways.  The first way would be to invite the students in your class to make their own paper doll grandparents and to share with the class where their grandparents live and a little about them - What their favorite things are and what they like to do when spending time with them, etc...  Put each set of paper grandparents up on a bulletin board after they have shared that information with the class.  I like to use ribbon or string to pin point the location and hang the grandparents out from the exact location in case you have more grandparents living in the same area.

Another way to do this would be to have the children decorate their own set of paper grandparents and mail them to their grandparents asking them to take pictures of them in the town they live in.  Grandparents love getting out doing fun things for their grandchildren and you'll be surprised at all the neat pictures that come back to your classroom.  This allows for even more conversation to take place between the child and the grandparent and then the class through the child's presentation, etc...

I like to use the pre-cut doll paper shapes made by CREATOLOGY.  They come in sets of 12 and can be purchased at most craft stores or online.  Be sure to have plenty of craft supplies handy for this project.  You will love what you see being created!

If you would like a copy of the WHERE IN THE WORLD ARE GRANDMA & GRANDPA sign....please contact Miss Jennifer at creativekritters@gmail.com.  Please be sure to leave your email address.

Happy Grandparent's Day!

Grandparents Day - Grandparent Necklace

Have each of your students make a necklace to represent the unending circle that is formed by having a family.  Talk about family members pointing out grandparents and how they are an important part of the family circle. 

Prior to making the necklace invite students to start saving their empty toilet paper tubes.

Provide each student with enough tubes to create their own family members.  (Please be sensitive - not all families are alike)

Have on the work table scrapbook paper, wiggle eyes, yarn, string, markers, scissors, glue, and anything else you have available in your craft area for the children to use while making their family members.  I've provided the scanned image of the clothing I used for my family on the blog.  If you would like a copy....please feel free to ask!

Punch two holes on the back side of the tube so that yarn can be strung and tied to make a necklace once the children have finished creating their family.

Allow the children in your class to proudly share their necklaces with the other members of the class and their family.

If you would like a copy of the clothing that is shown in the pictures above...please contact Miss Jennifer at creativekritters@gmail.com.  Please be sure to leave your email address! 

Grandparents Day - Grandparent Interview

It's informative to interview a grandparent, and what better fun than to do it on a tape recorder?  Use the school recorder on the day grandparents are visiting, or ask if the children can record an interview at home using their own machines.  Some teachers may ask the children to call their grandparents and conduct the interview via the telephone.  While interviewing have the children fill in the Grandparent Interview Sheet shown above.  If you are working with older children have them compare their grandparent's answers to the way they would have answered the questions if they were the one's being interviewed.  Younger children might like drawing a picture of their grandparents that they can include with their interview questionaire.  The children in your classroom or home will love spending this extra time visiting with their grandparents.

If you would like a copy of the Grandparent Interview Sheet....please email Miss Jennifer at creativekritters@gmail.com.  Don't forget your email address!

Autumn - Fabric Pumpkin

Are you looking for something fun to do at your Fall Festival?  This project is so simple and requires no glue or sewing.  Children, Parents, and Teachers will love making their very own FABRIC PUMPKIN to take home or to decorate the classroom. 

Supplies:
- A piece of fabric cut into a square (I like to use orange or black)
- Tissue Paper
- Roll of Toilet Paper
- Stick
- Ribbon

Directions:
1.  Place fabric face down on the table.
2.  Place one sheet of tissue paper on top of the fabric.
3.  Place roll of toilet paper in the middle of the fabric and tissue paper.
4.  Stuff the piece of toilet paper into the middle of the toilet paper roll until it's all tucked in nicely.
5.  Stuff the fabric the same way you stuffed the tissue paper into the middle of the roll of toilet paper.
6.  Adjust fabric to make a pumpkin shape and place a stick in the middle.
7.  Tie decorative ribbon around the stick.
8.  Display FABRIC PUMPKIN.

This is a gift that keeps on giving.....isn't this a great way to disguise toilet paper?

Happy Fall!

Tuesday, August 31, 2010

Autumn - Fall Matching Game


Introduce FALL by playing this large sized matching game. I like to play this on the floor on a rainy day, but you may decide to place it in one of your centers for your students to use during center time. There are illustrations and the name of the object on each card. If you are working with older children you may use these word cards as spelling words for the week leading into your FALL FESTIVAL ACTIVITIES. However you choose to use them....I guarantee a great time!

Reproduce each playing card twice on white card stock paper. Turn them over and print the front of the playing card on each sheet you just printed. Laminate cards for durability!
Have fun matching!

If you would like the PDF file for the FALL MATCHING GAME.....please email Miss Jennifer at creativekritters@gmail.com. Be sure to leave me your email address!

Autumn - Autumn Treasure Hunt


Everyone loves spending time outside in the FALL. It's always so pretty with the leaves changing color and the chill in the air. I think this is a perfect time to spend some time with our families enjoying nature and the great outdoors. Why not send your students on an AUTUMN TREASURE HUNT?

As you can see above....there is a TREASURE HUNT sheet with some adventures to have the children go on with their families. They will be using their senses while seeking to find, collect, listen, and smell things. Use the other set of leaves to decorate a paper bag for each student to place items into while hunting for AUTUMN outside. You may decide to invite your students to bring their AUTUMN TREASURES to class the next day to share what they were able to collect. For each of the leaves on the TREASURE HUNT sheet encourage the children to color them in after they have found what they are hunting for.

Happy Hunting!

If you would like a copy of the PDF file for the AUTUMN TREASURE HUNT...please email Miss Jennifer at creativekritters@gmail.com.

Autumn - Hanging Scarecrow


Let your students help you make HANGING SCARECROWS for your classroom.

Supplies Needed:
* Paper Bag for each student
* Newspaper to stuff each paper bag with
* Pencil/Pen to punch a hole with at the top of the bag
* Ribbon or String
* Buttons
* Copy of Scarecrow Shirt - one per student
* Scissors
* Crayons (if you are allowing each student to design their own scarecrow)
* Glue
* Creative Crinkle for HAIR/STRAW

How to make your very own HANGING SCARECROW:

1. Have each student color/design their own scarecrow shirt or have them cut out the colored one shown on http://www.creativekritters.blogspot.com/.

2. Cut out SHIRT and set aside.

3. Open paper bag and careful poke a hole in the center of the bottom of the bag. I did this with a pen.

4. Take your pre-cut ribbon or string and poke it through the hole and loop it back down to tie a knot. The loop should be big enough for you to be able to hang the scarecrow from the ceiling, from a hook, or a door knob.

5. Stuff paper bag with newspaper and tie it shut with string.

6. Glue or attach SHIRT to the front of the paper bag around the neck area. Make sure the bottom of your paper bag is now the top of the scarecrows head.

7. Glue two buttons on for eyes.

8. Draw a smiley face - I used a sharpie!

9. Bunch together some Creative Crinkle and glue it on the top of the scarecrows head, sleeves, and pocket.

10. Hang your finished SCARECROW and scare all the CROWS AWAY!
-------------------------------------------------------------------------------------------------
To highlight your students Hanging Scarecrows...please sent pictures to Miss Jennifer at creativekritters@gmail.com.
If you would like a copy of the PDF file for the Scarecrow's Shirt...please email Miss Jennifer at creativekritters@gmail.com.